 PixDrive
Make your lights react to music
Choose the audio input, start Light to Music and tune bass, mids and highs.
Updated
Step 1 of 7
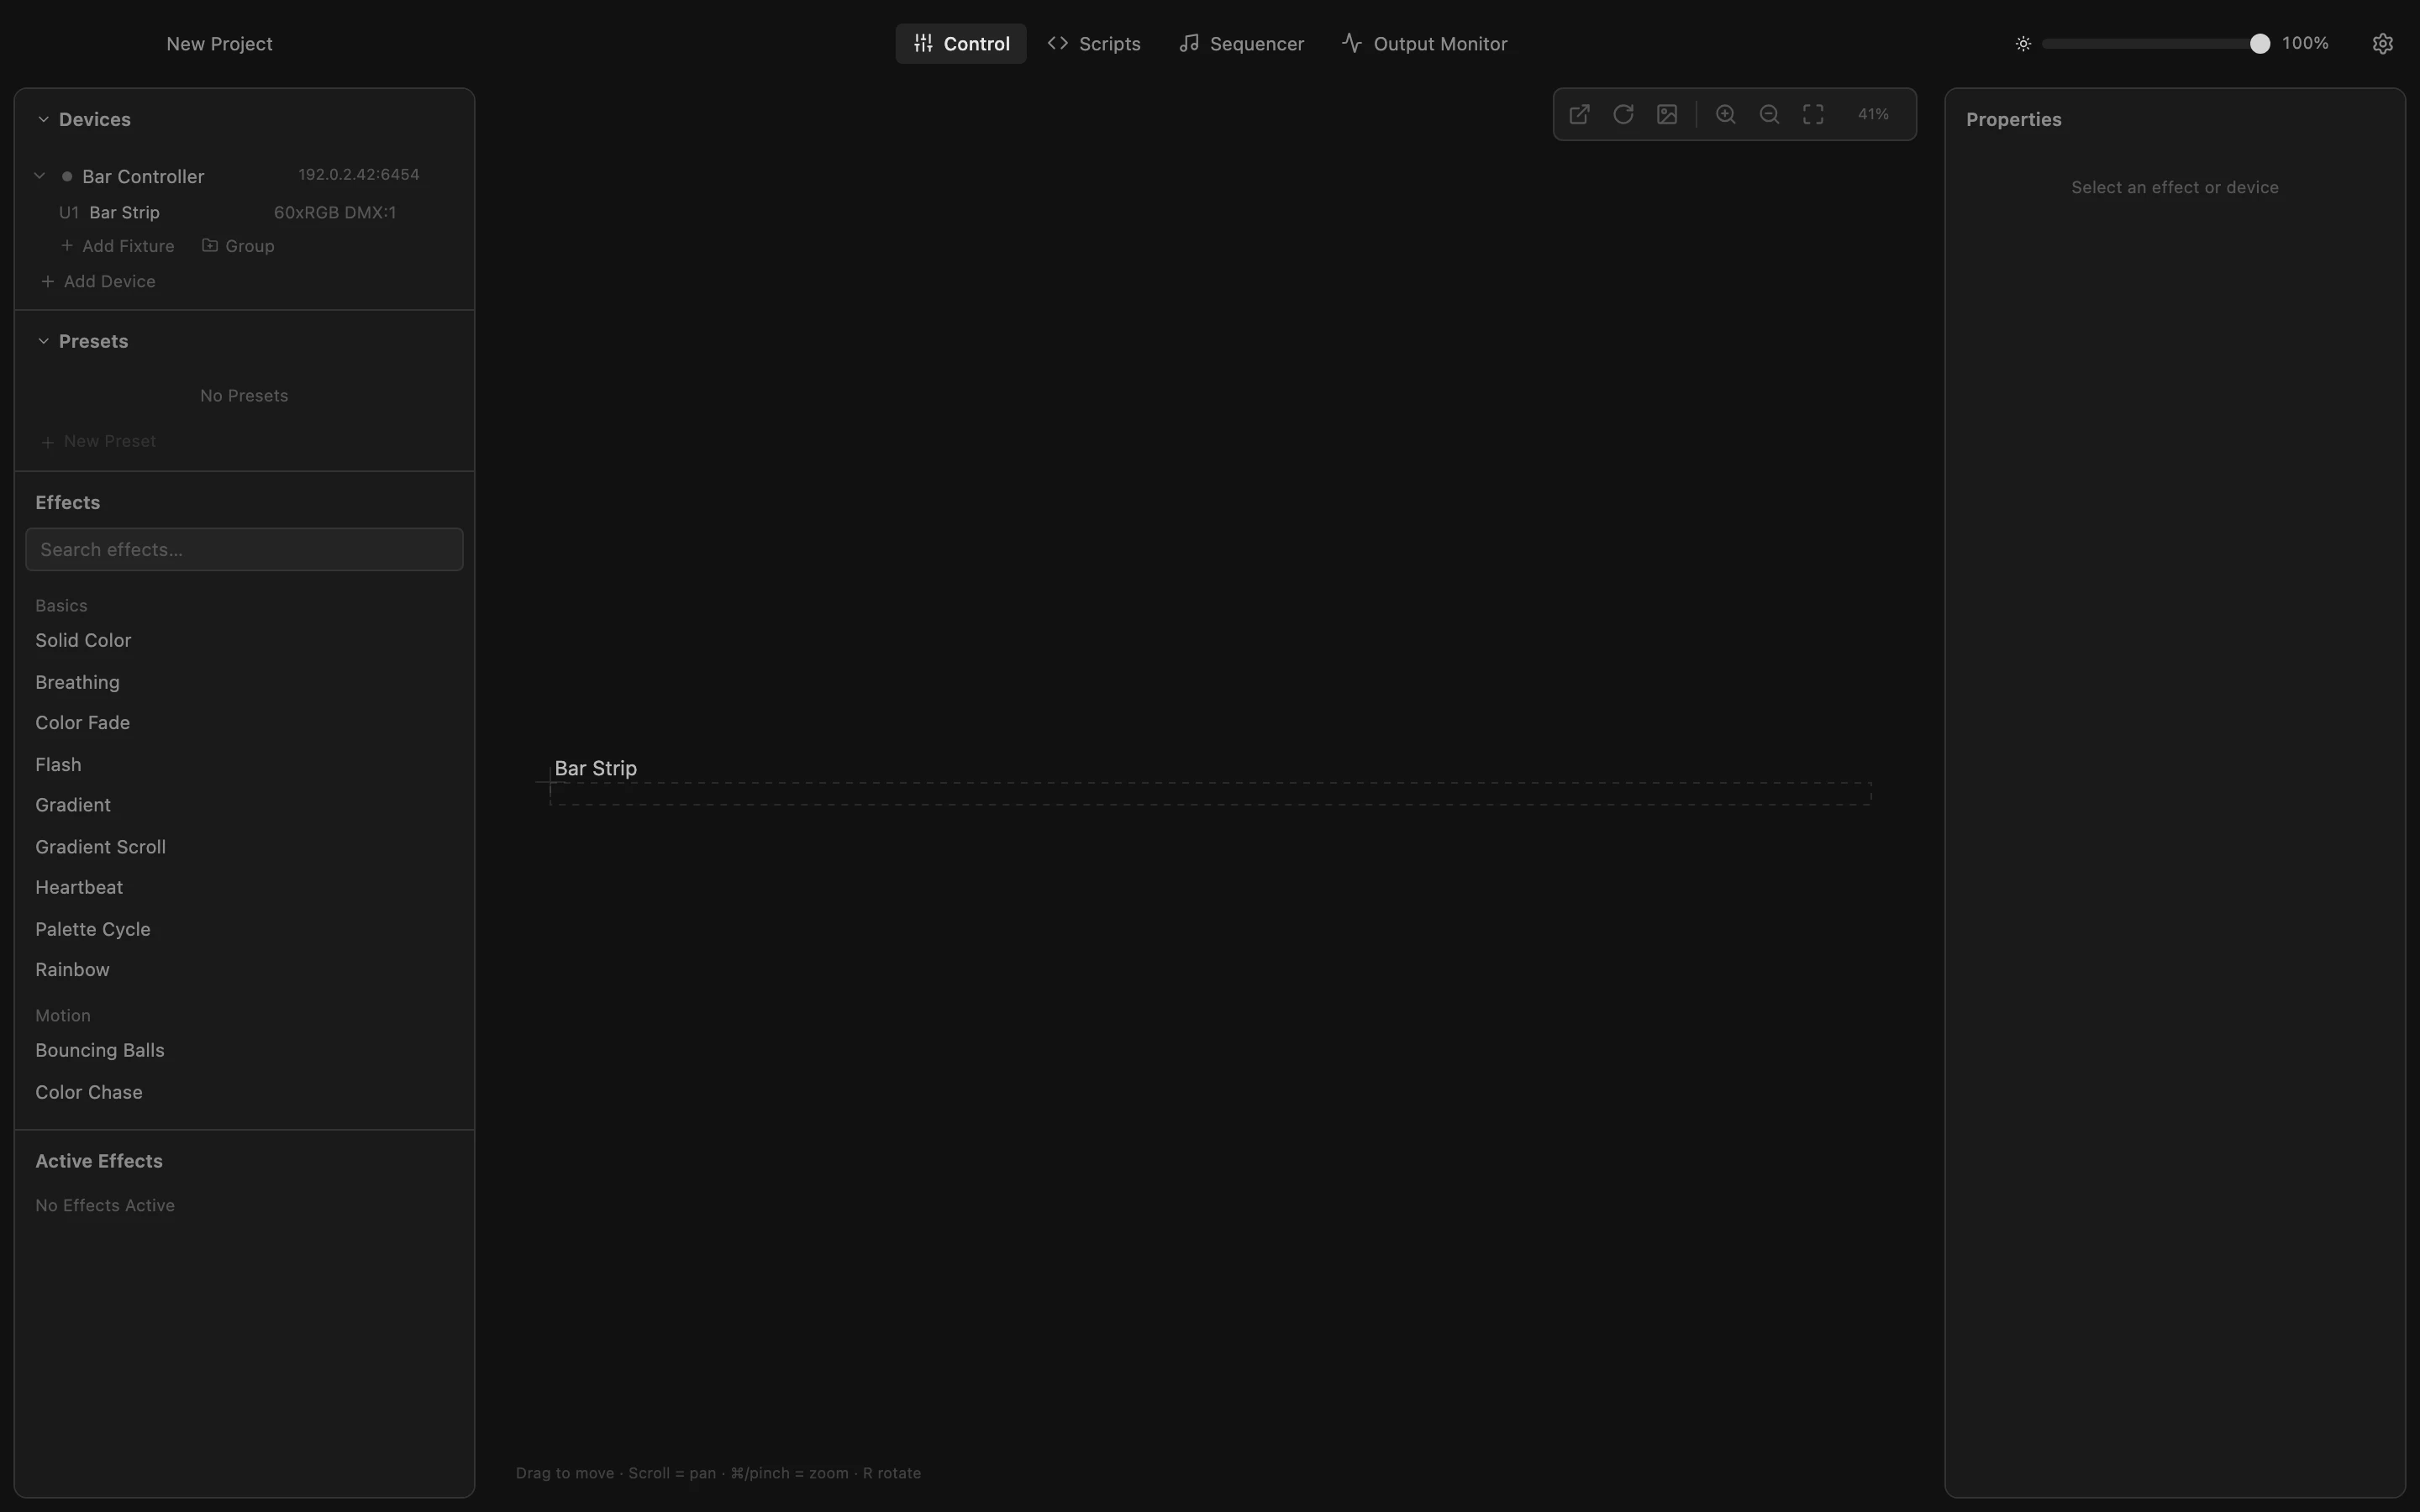
Open Settings
Audio-reactive effects listen to a microphone or a line input. You switch it on in Settings: click the gear at the top right and scroll down to Audio Input.
All steps
- Open Settings
Audio-reactive effects listen to a microphone or a line input. You switch it on in Settings: click the gear at the top right and scroll down to Audio Input. - Choose the input
Click the Device list and pick where the sound comes in: the built-in microphone picks up the room, an audio interface takes the mixing desk directly. - Start listening
Pick the audio interface, then click Start. PixDrive Studio now listens to this input all the time, for every audio-reactive effect. - Check the levels
The spectrum shows the sound from deep bass on the left to treble on the right. Below it, Bass, Mids and Highs are the three levels effects react to. If the bars barely move, turn up Gain, or switch on Auto Gain to let it follow the volume. - Find the effect
Close Settings; the input keeps listening in the background. Type "music" into the effect search to find Light to Music. All effects that react to sound, such as Beat Pulse or Frequency Bands, sit in the Audio category of the list. - Start Light to Music
Click Light to Music. It splits the sound into colored bands: the bass pulses from the middle of the strip, the mids shimmer around it and the highs sparkle at the ends. - Tune bass, mids and highs
In Properties, Sensitivity sets how strongly the lights follow the sound: raise it for quiet rooms, lower it if everything is at full brightness. Bass Color, Mids Color and Highs Color give each band its own color.