 PixDrive
Import an Advatek .conf file
Import an Advatek .conf file to prepare a show for a controller that is not on your network right now.
Updated
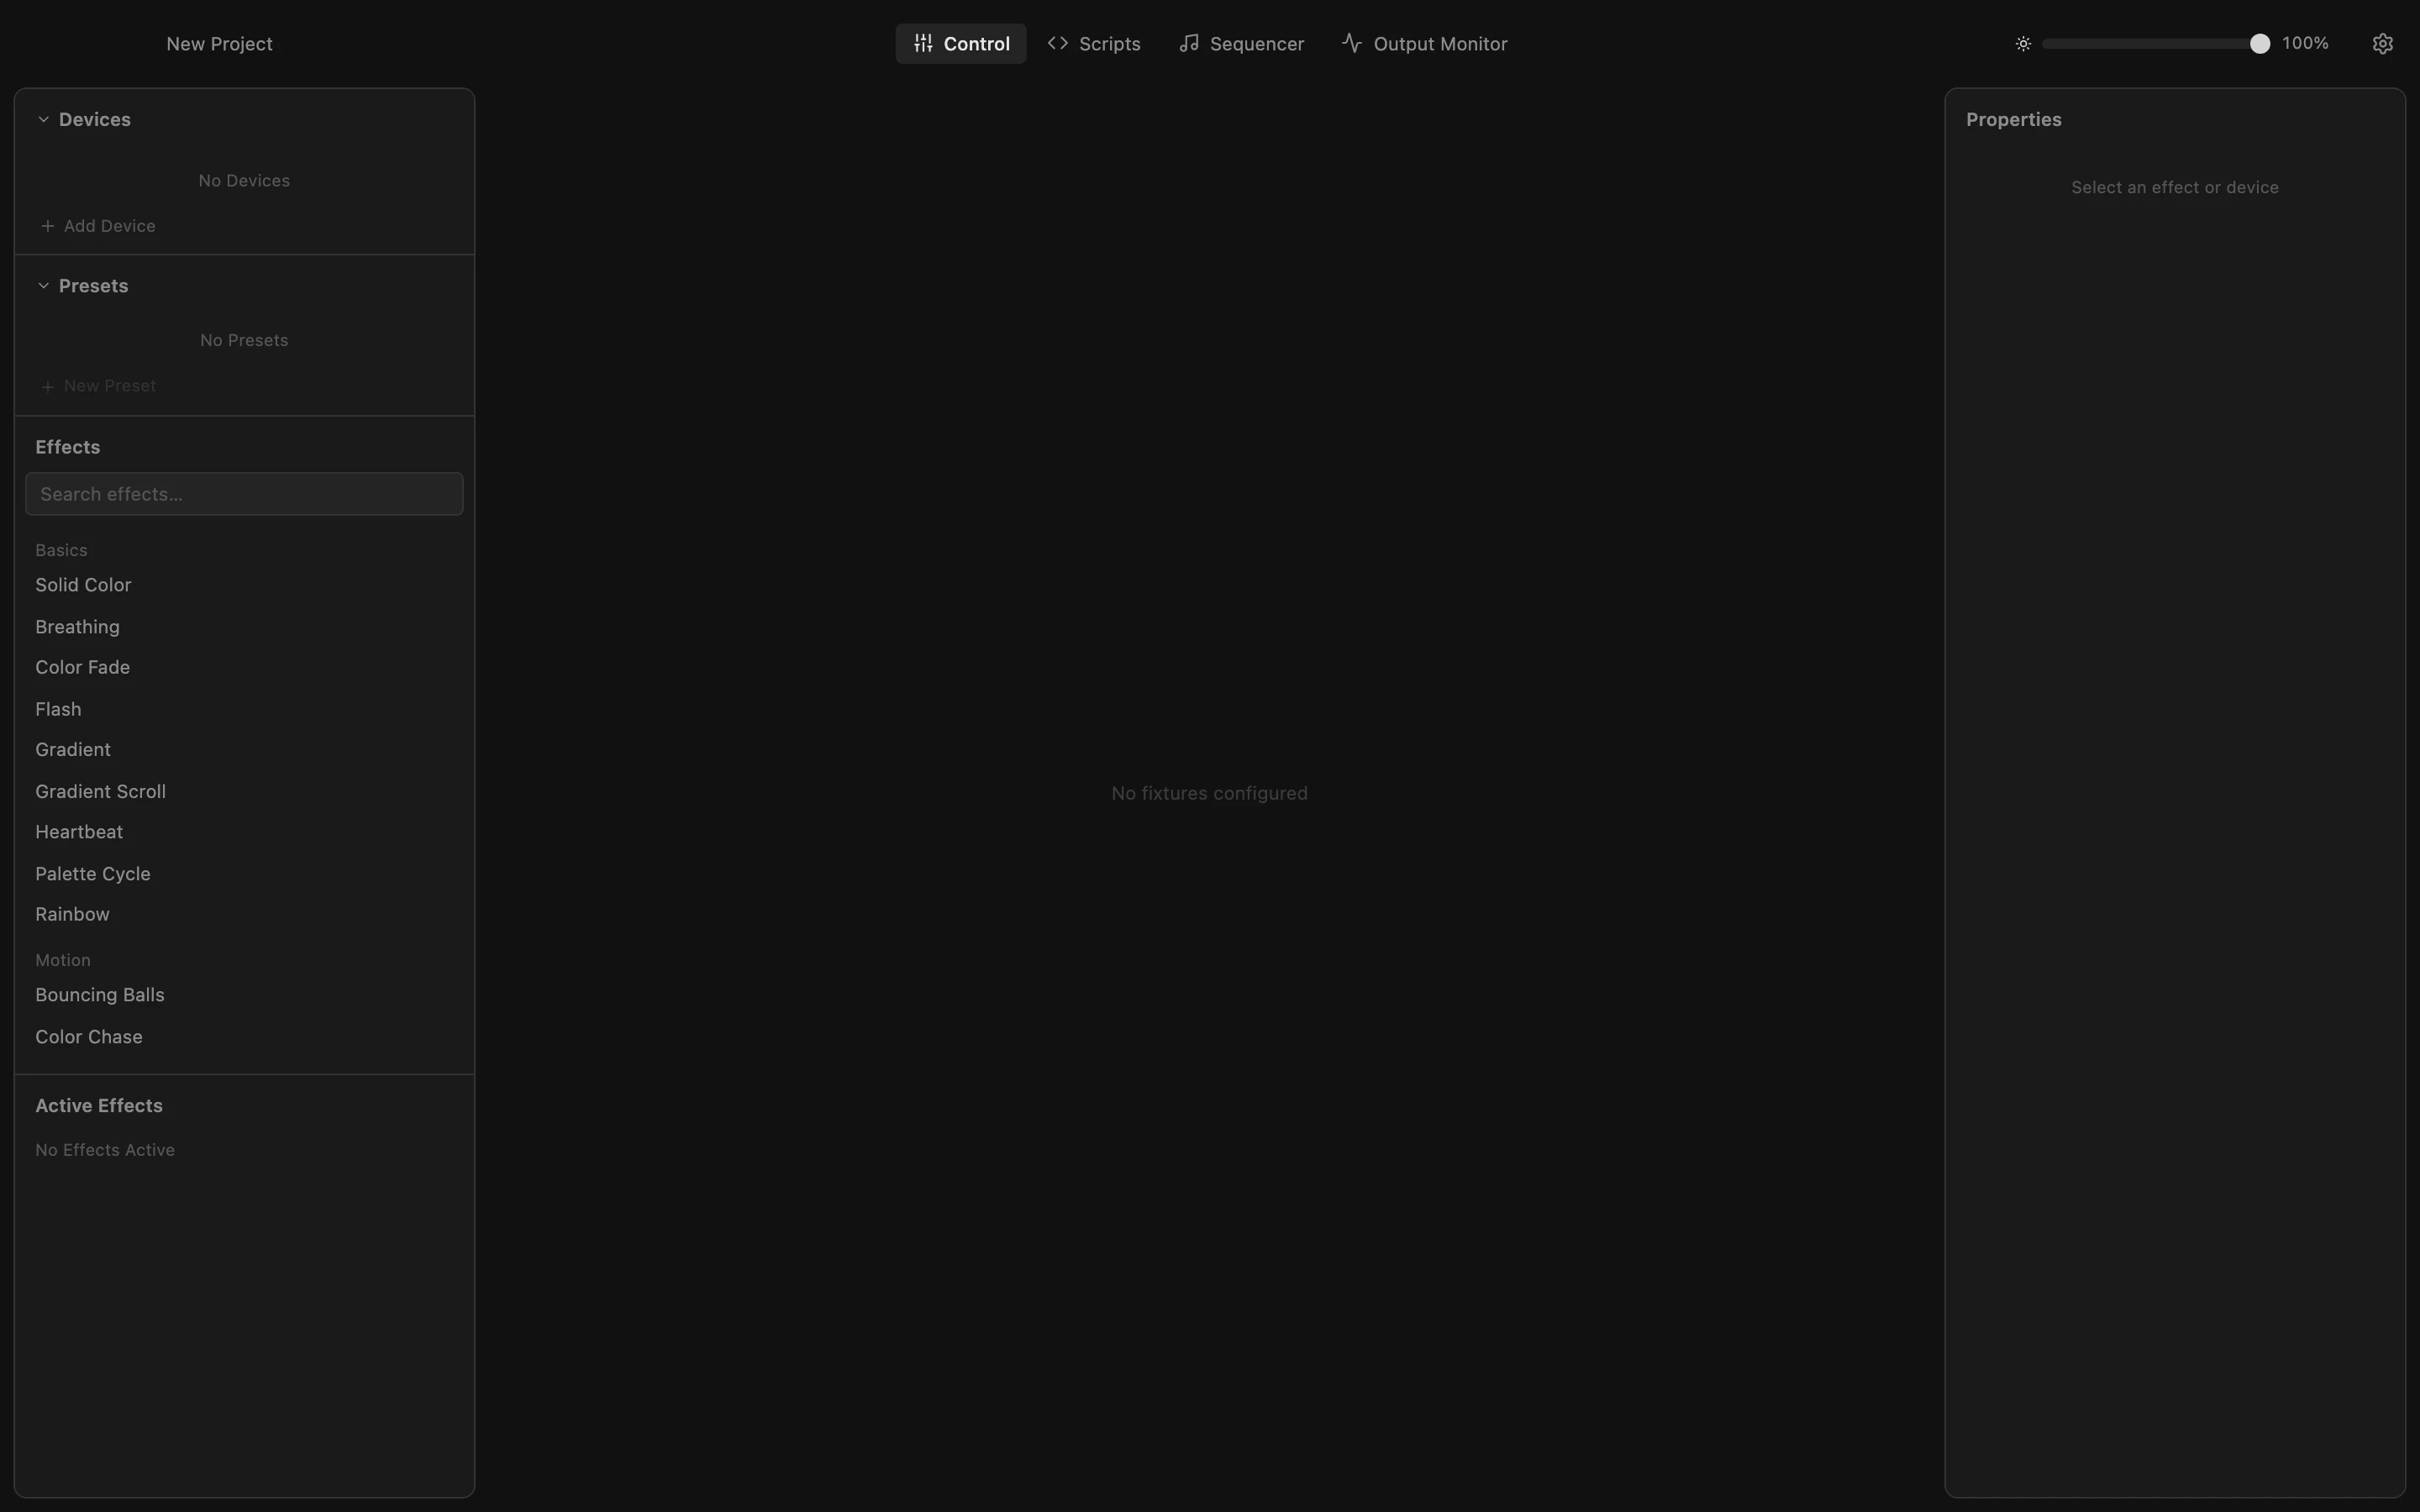
Step 1 of 4
Import the .conf file
Preparing a show before you get to the venue? Save the PixLite's configuration from its web interface as a .conf file. Then choose File › Import Advatek .conf... and pick that file.
All steps
- Import the .conf file
Preparing a show before you get to the venue? Save the PixLite's configuration from its web interface as a .conf file. Then choose File › Import Advatek .conf... and pick that file. - Read the warning
The controller gets its address via DHCP, so its IP is not in the file. For Art-Net PixDrive Studio uses the last static address, 192.0.2.80, and says so. (A DHCP controller on sACN gets multicast instead, which needs no IP.) Click OK. - Set the real IP address
Once you know the address the controller gets at the venue, type it into IP Address in Properties and leave the field. Better still, give the controller a fixed address in its web interface, so it stays the same. - Ready for the venue
The device has one fixture per output in use, with universe, start channel, pixel count and color type from the file. Build your effects and sequences now; on site, the controller only needs to be on the network.