 PixDrive
Keyframes: change a setting over time
Use keyframes to change an effect setting over the course of a sequence, easing included.
Updated
Step 1 of 6
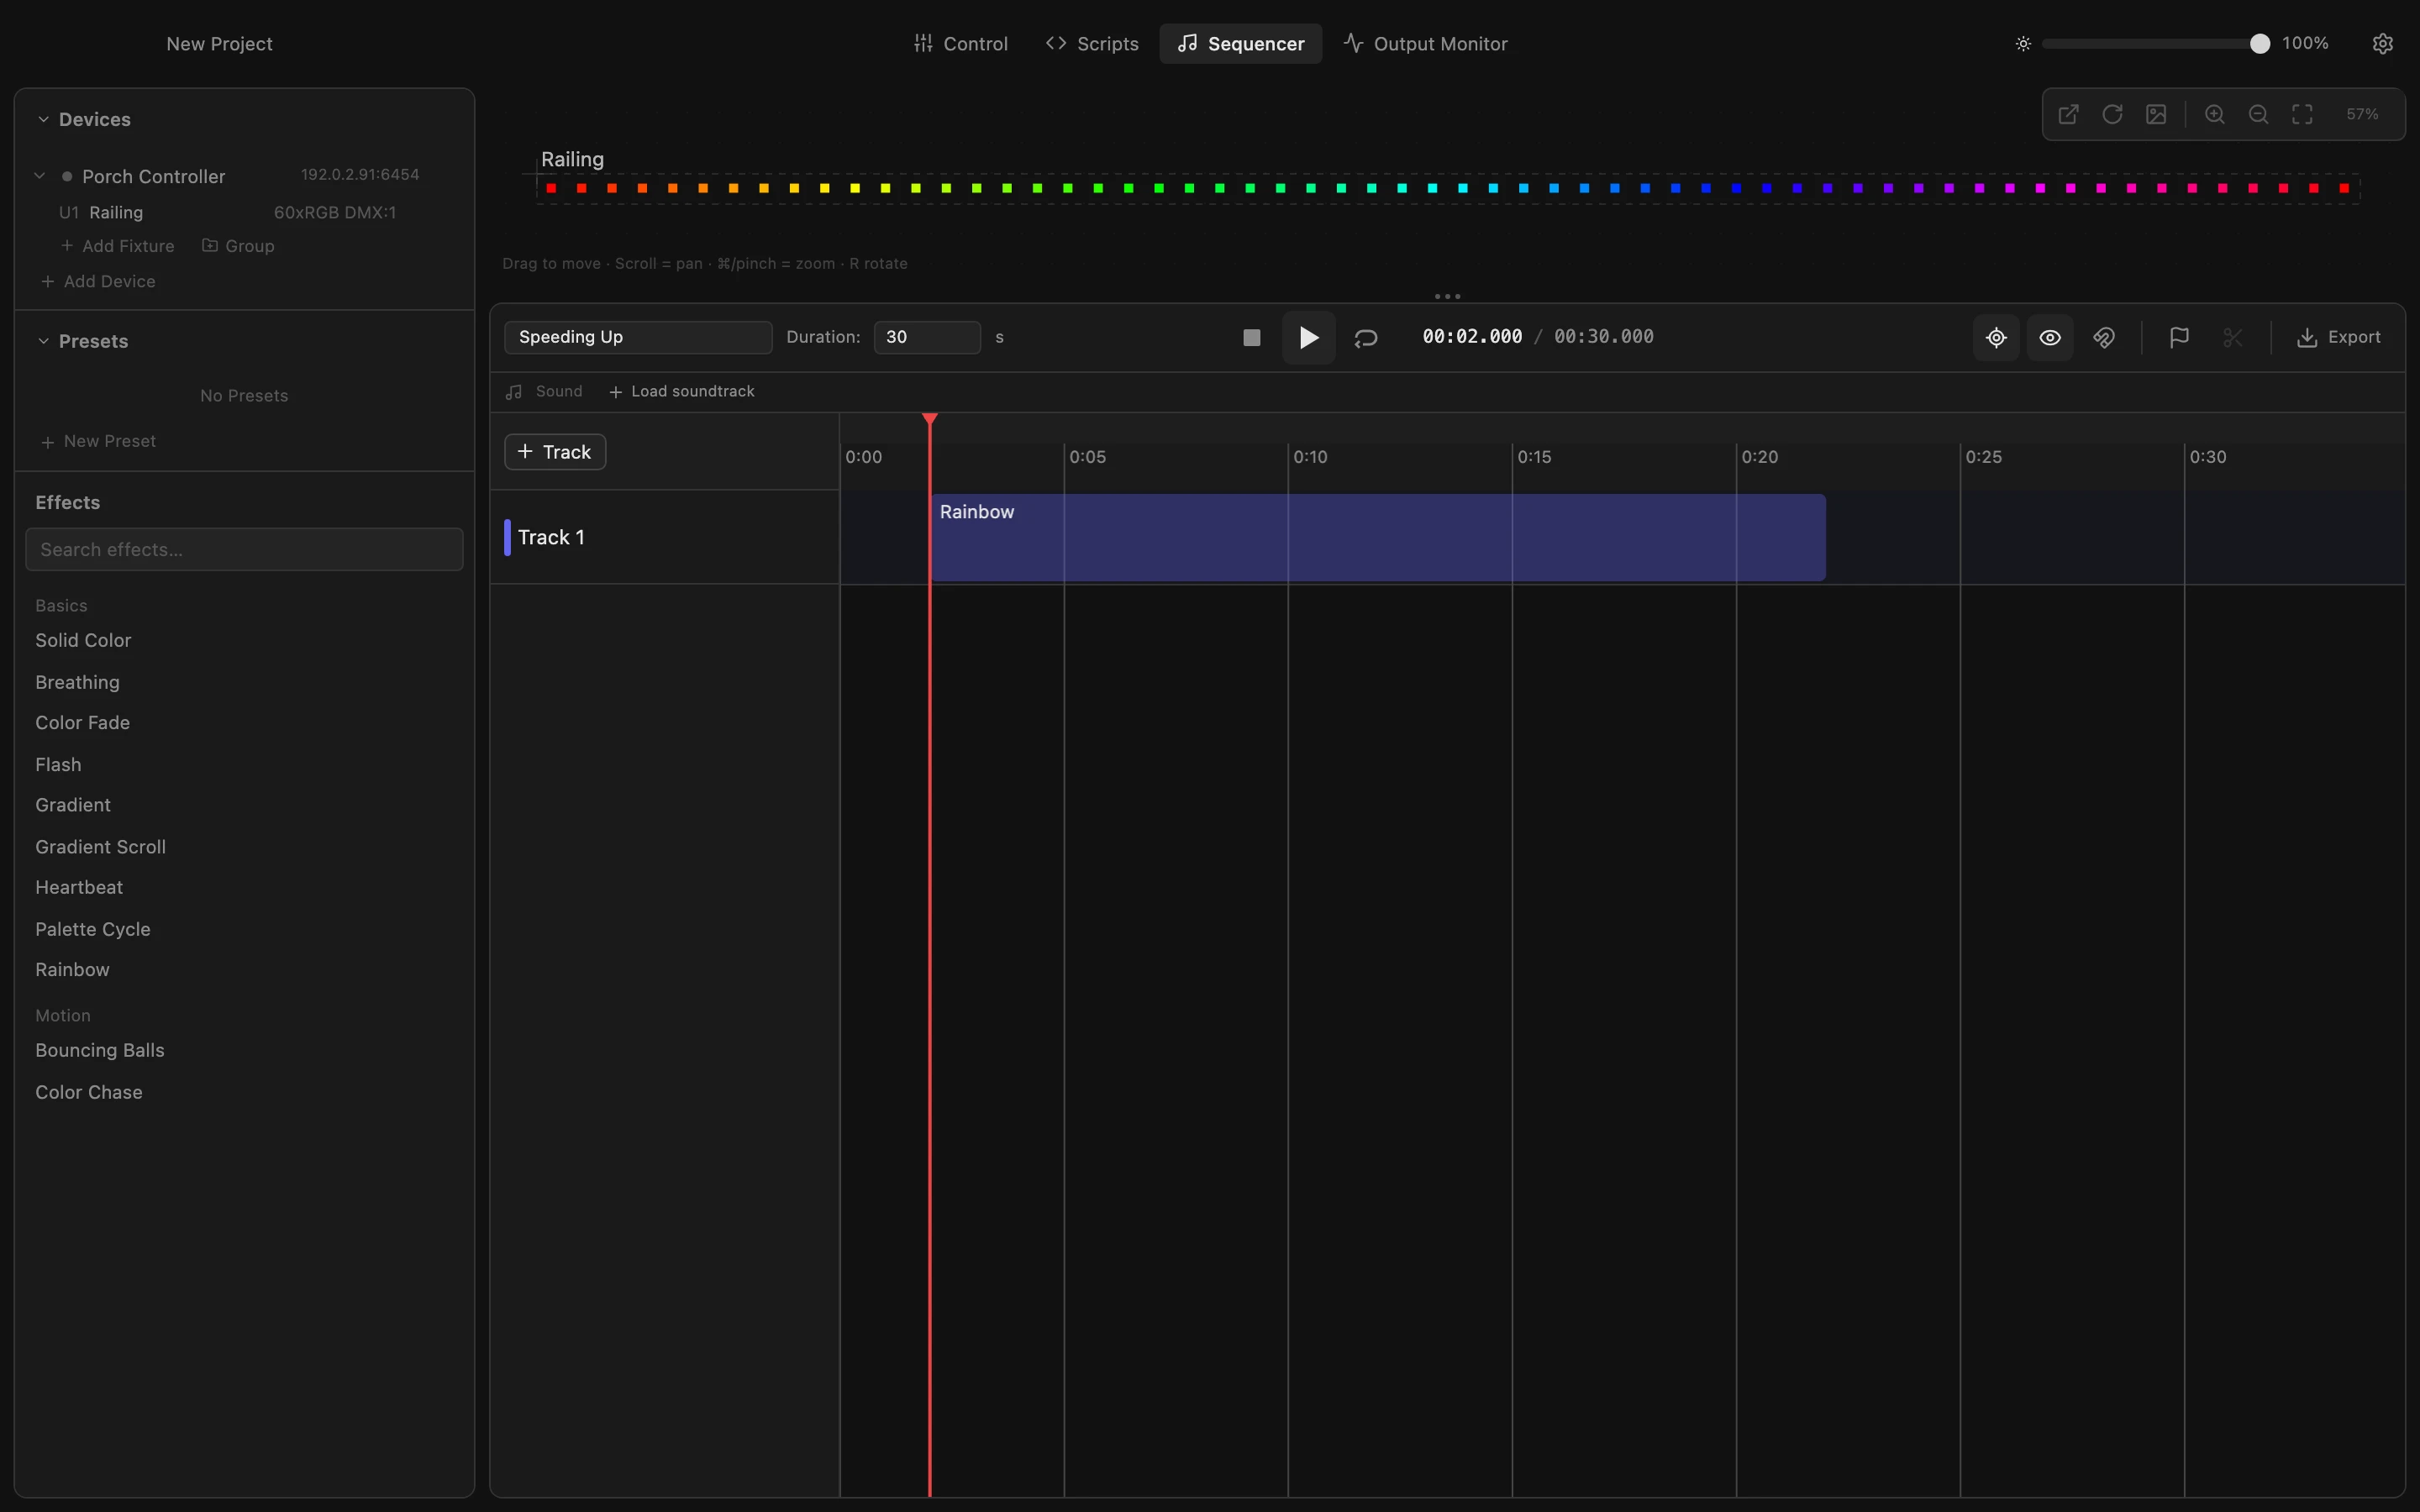
Select the clip
A keyframe fixes a setting at one moment of a clip; between two keyframes the value changes gradually. Click the Rainbow clip on the timeline: its effect panel opens with all its settings.
All steps
- Select the clip
A keyframe fixes a setting at one moment of a clip; between two keyframes the value changes gradually. Click the Rainbow clip on the timeline: its effect panel opens with all its settings. - Set the first keyframe
The playhead is at the start of the clip. Click ◆ next to Speed: it fills in, and a keyframe with the current speed sits at the playhead. The track opens an automation row for Speed below the clip. - Move the playhead
Click the ruler above the timeline near the end of the clip. The playhead jumps there, and ◆ is empty again: no keyframe at this moment yet. - Set the value for this moment
Click the number next to the Speed slider, type 8 and press Enter. Because Speed has a keyframe, this adds a second keyframe at the playhead. The automation row shows the speed rising across the clip. - Open the keyframe menu
Right-click the first keyframe ◆ in the automation row. The menu deletes the keyframe or sets its easing: how the value travels from this keyframe to the next. - Start slowly, then speed up
Click Ease In. The rainbow now picks up speed slowly at first and faster towards the end. Click into the row to add more keyframes, or drag one to move it.