 PixDrive
Photo of the installation
Put a photo of the installation behind the 2D canvas, give it its real width and place the fixtures on it.
Updated
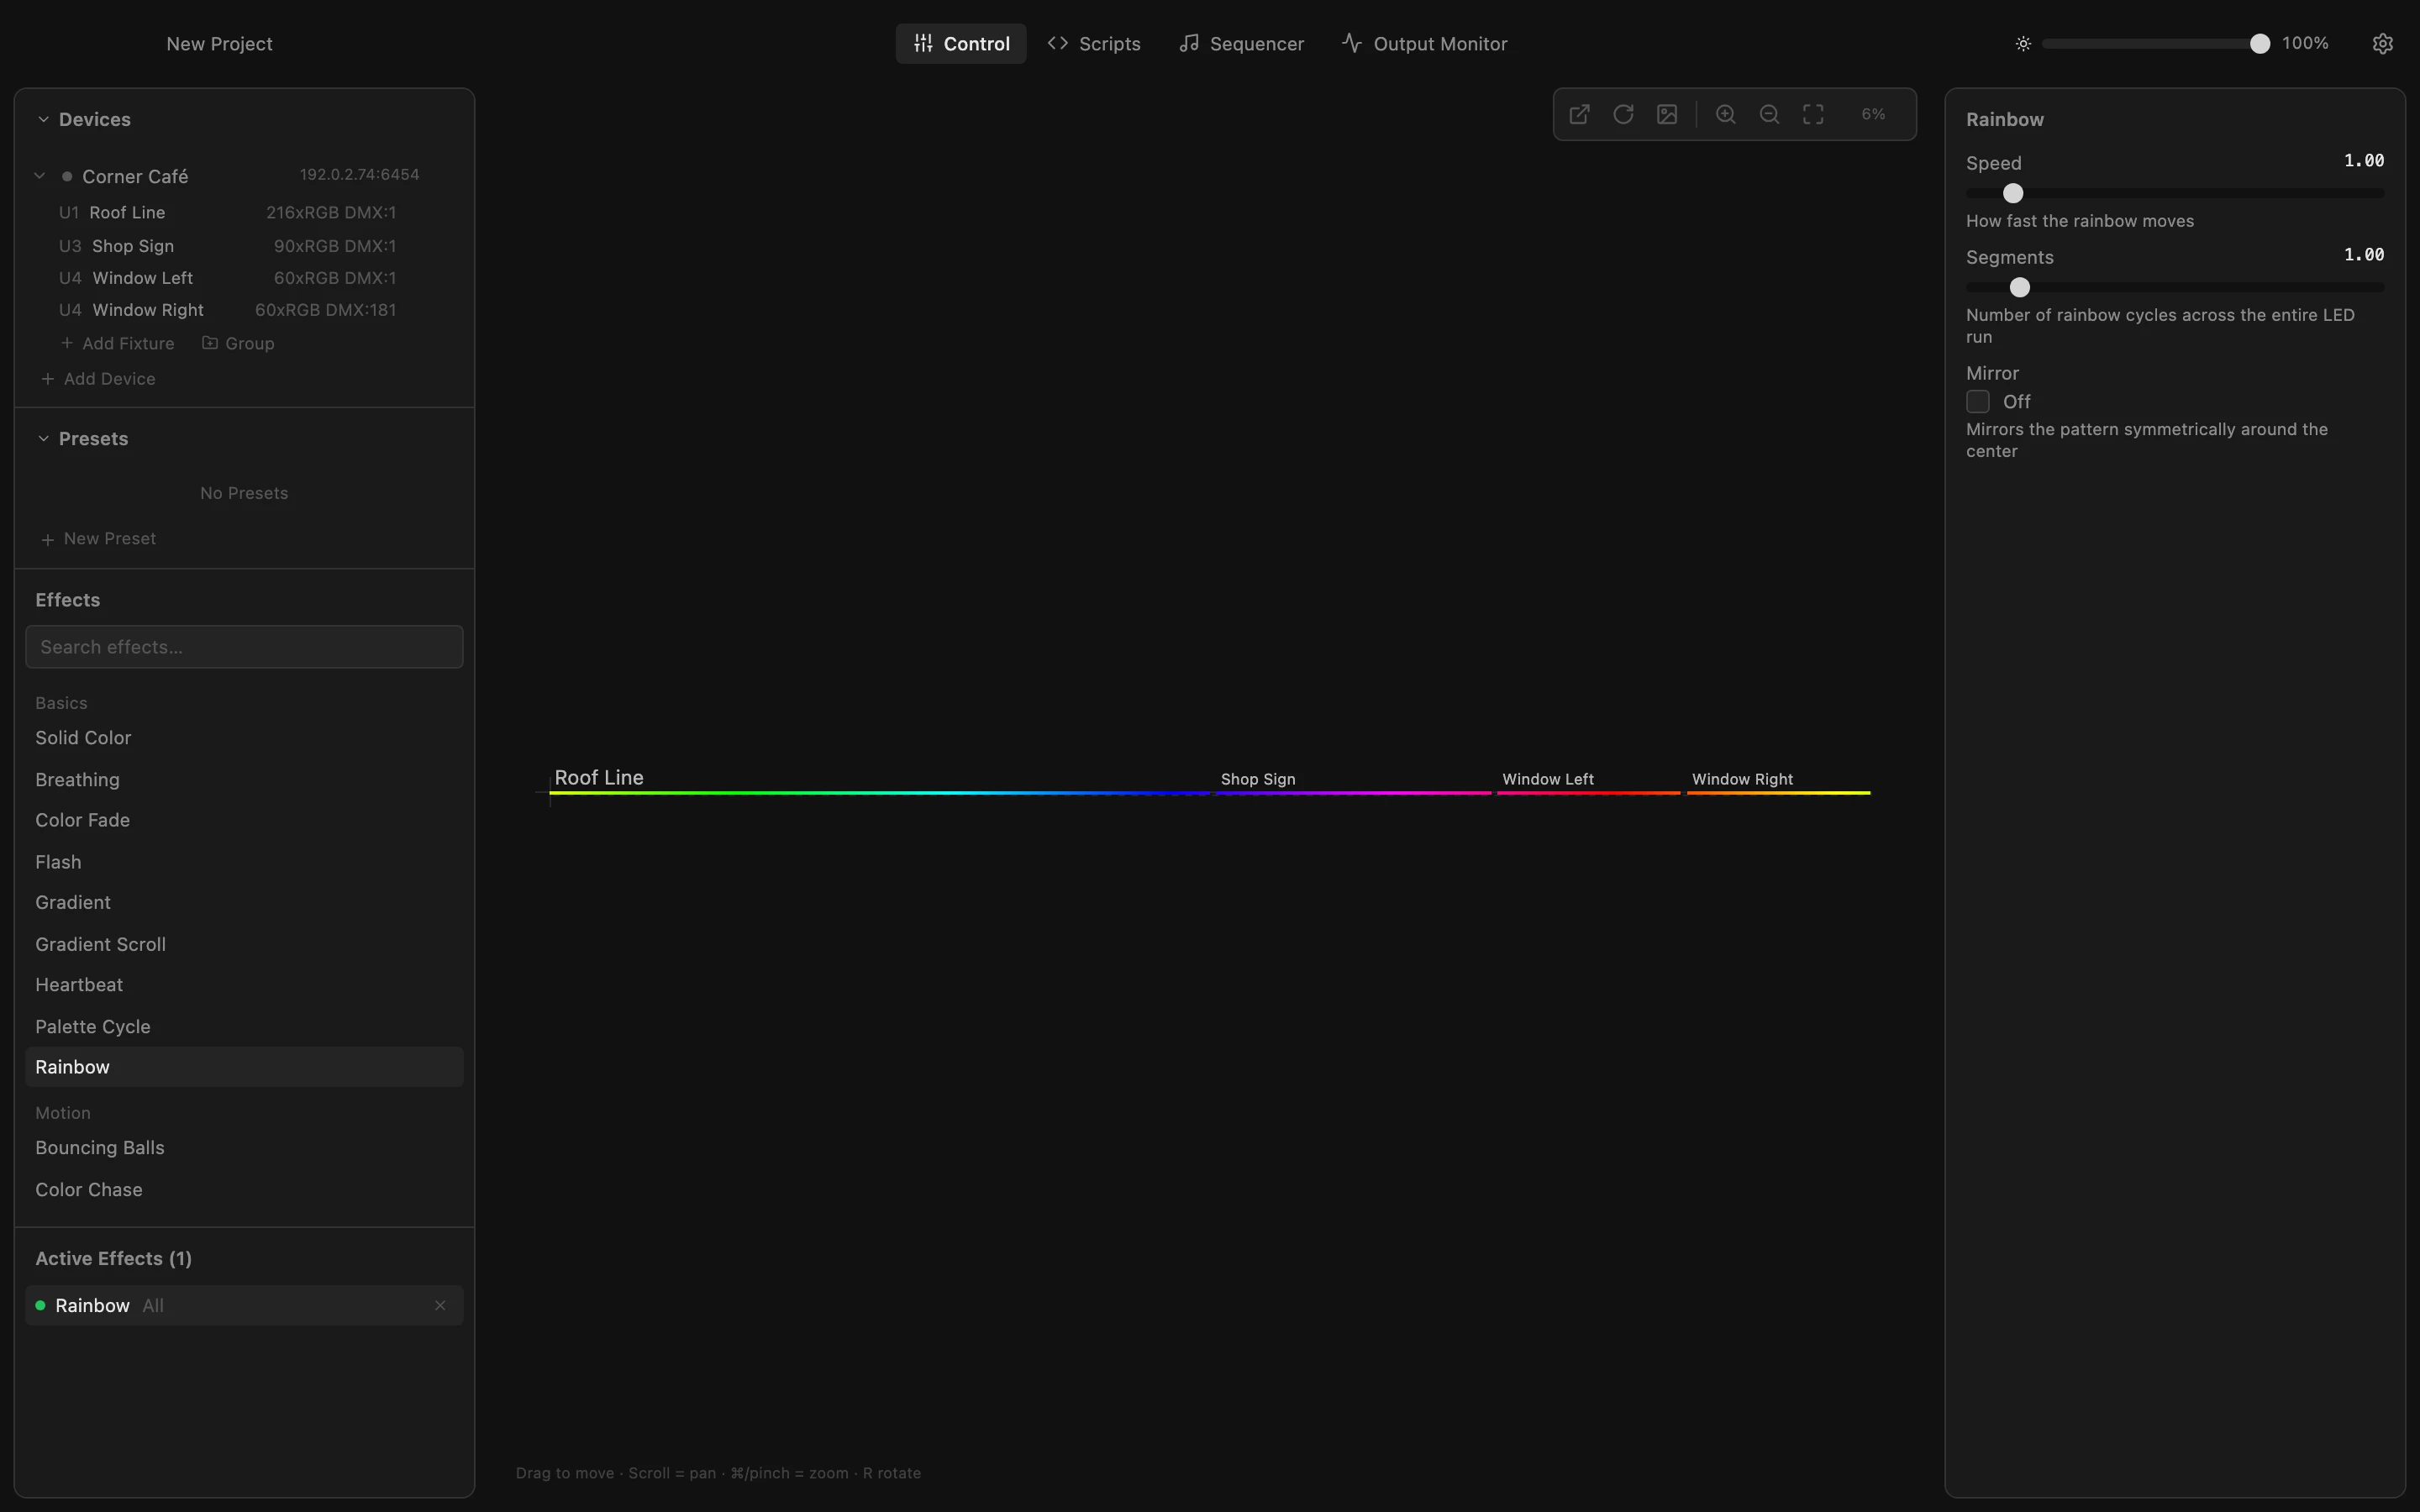
Step 1 of 7
Start from your layout
The four strips of this café front sit in a row on the 2D canvas. Take a photo of the house straight from the front: behind the layout, it shows where each fixture goes.
All steps
- Start from your layout
The four strips of this café front sit in a row on the 2D canvas. Take a photo of the house straight from the front: behind the layout, it shows where each fixture goes. - Open Background image
Click the picture icon in the toolbar of the canvas. The Background image panel opens. - Load the photo
Click Load image… and pick your photo. It appears behind the fixtures, as wide as the layout so far. - Give the photo its real width
Measure the house front and type its width into Width (mm), here 4000 mm. Now the photo has the same scale as your fixtures, which are drawn at their real length. - Fade the photo
Drag Opacity to the left until the lit strips stand out clearly against the photo. Then click the picture icon again to close the panel. - Drag a fixture onto the photo
Drag each fixture to the spot where it hangs on the real house. The roof line goes under the gutter. - Place the rest
The sign strip goes onto the board above the door, the window strips onto the top of the windows; Fit to view zooms in on them. Effects now run across the house the way it really looks, and the photo is saved with the project.