 PixDrive
Set up a matrix
Set up a fixture as an LED matrix: width, wiring and start corner, then check it with a 2D effect.
Updated
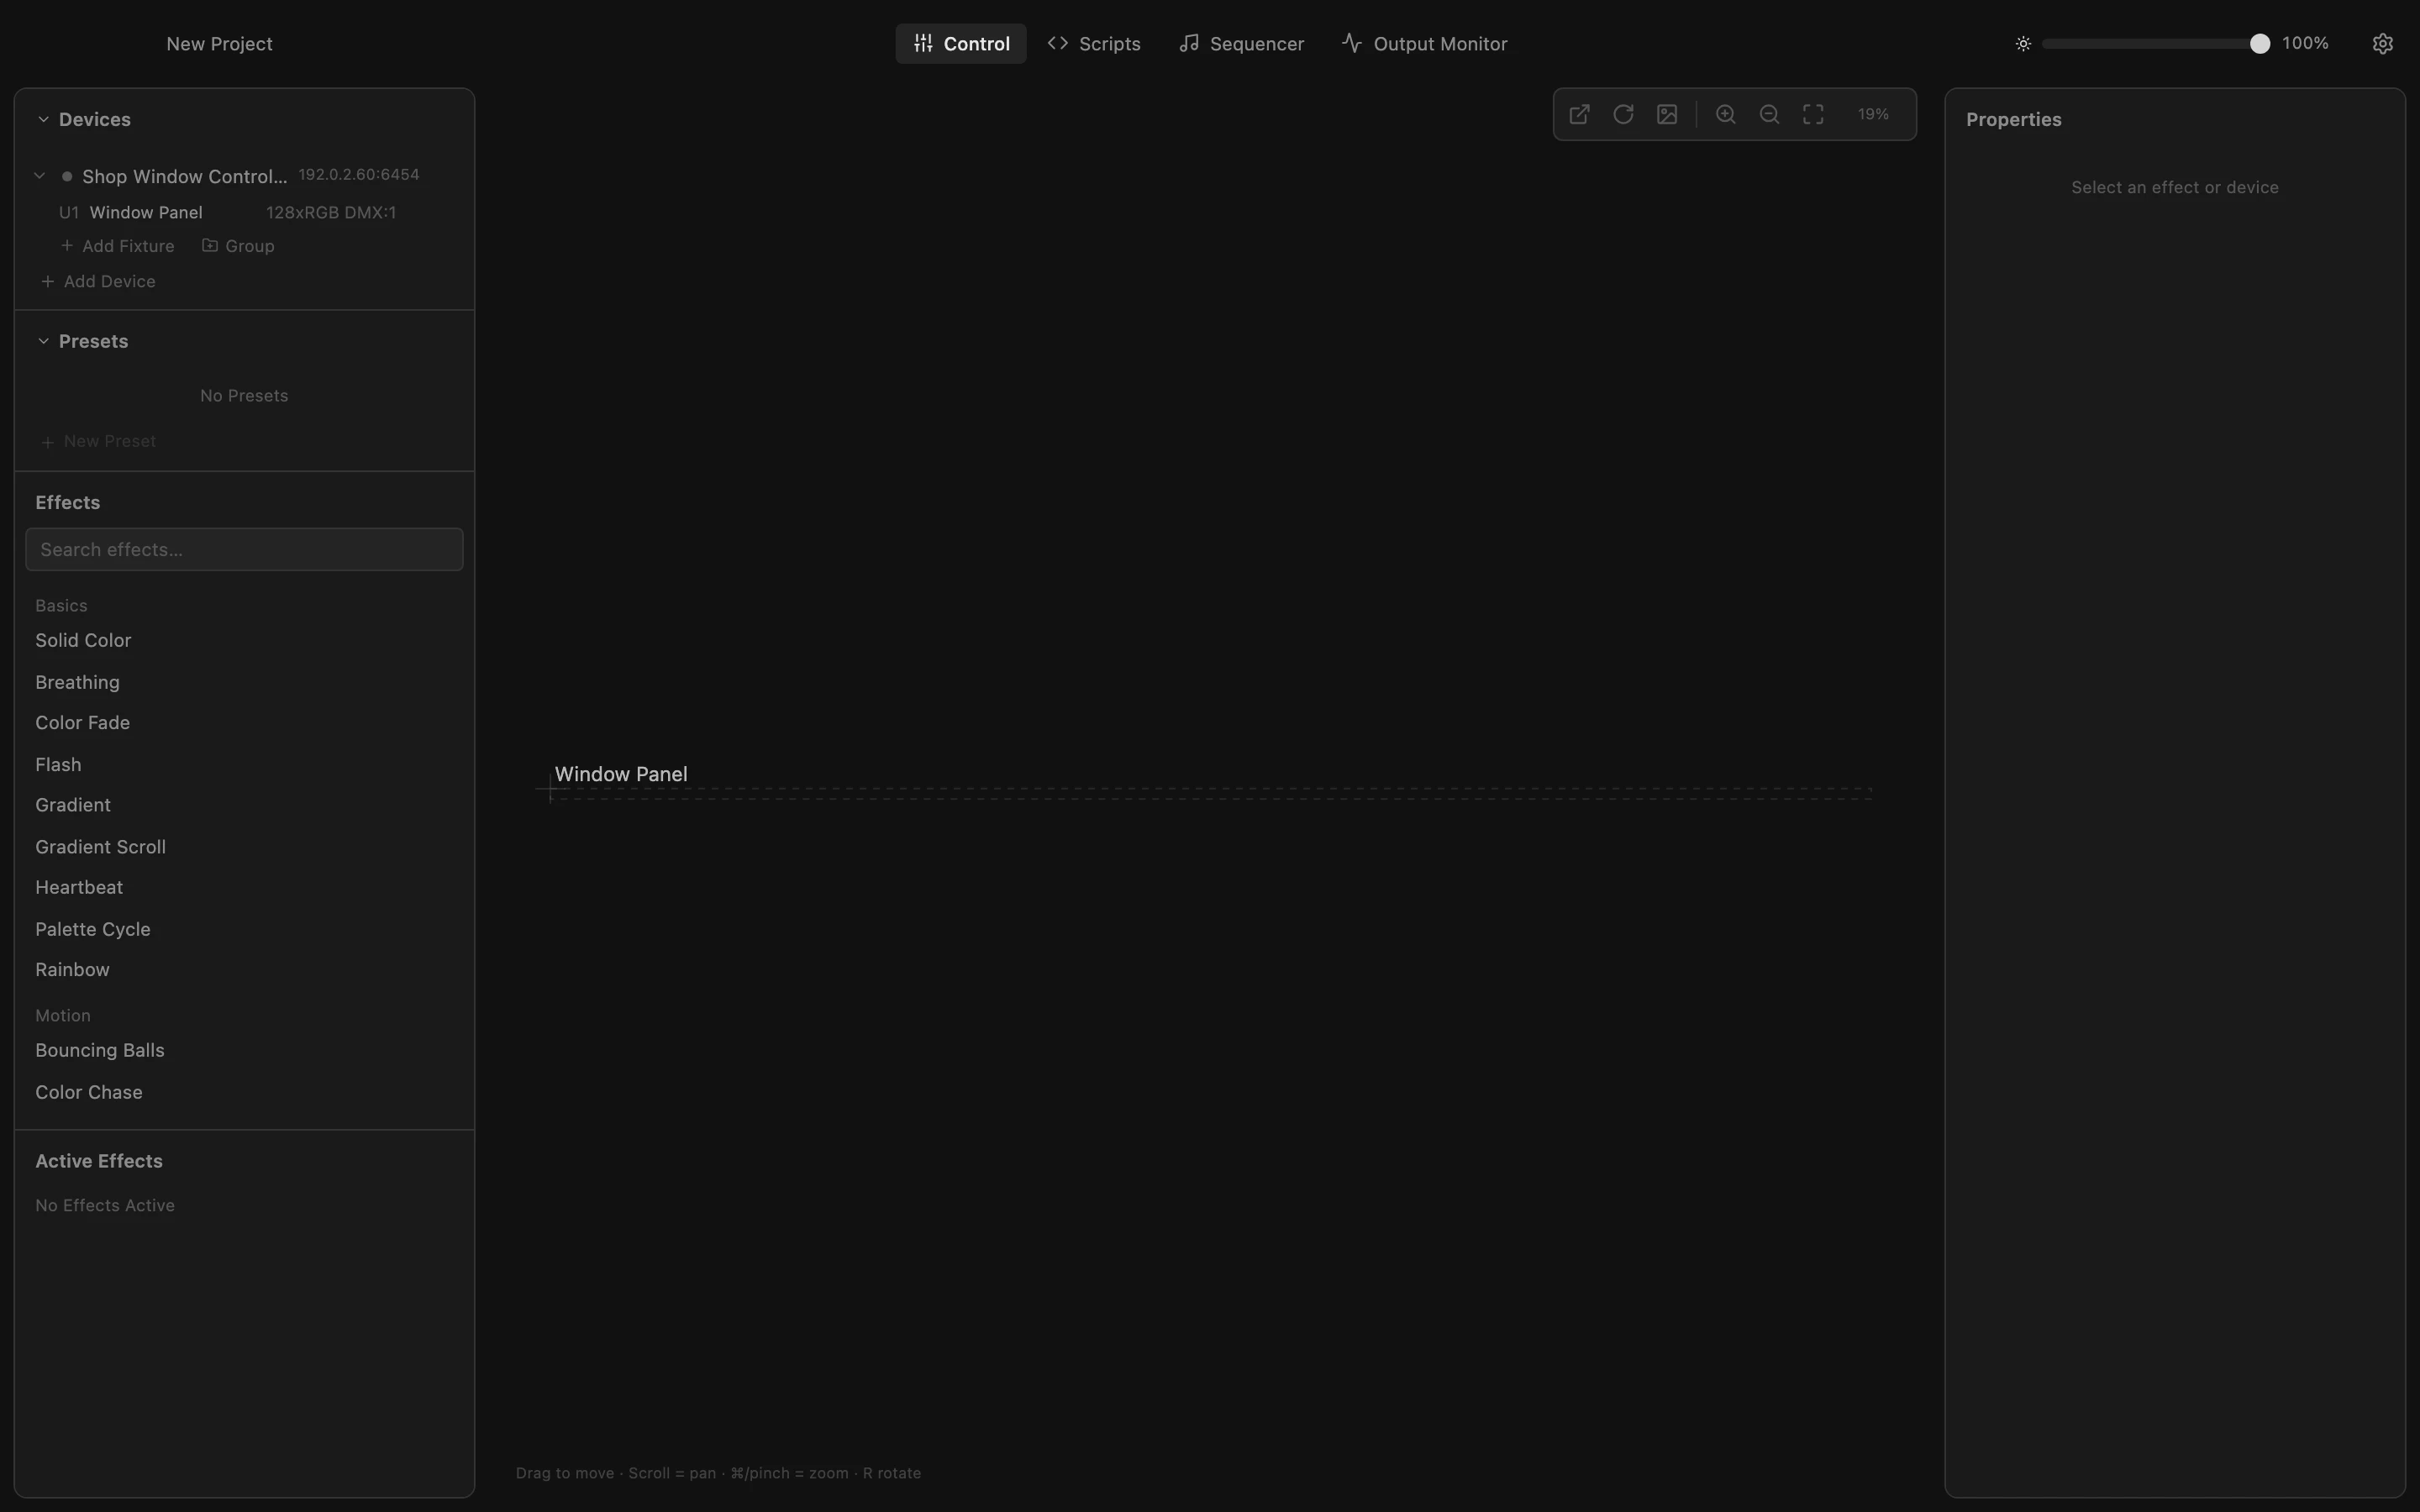
Step 1 of 7
Select the fixture
A matrix is an LED panel or a grid of strips, wired as one long chain. Click the fixture under Devices: Properties on the right shows its settings.
All steps
- Select the fixture
A matrix is an LED panel or a grid of strips, wired as one long chain. Click the fixture under Devices: Properties on the right shows its settings. - Open the shape
Shape says how the LEDs are laid out. A new fixture is a Strip, one row of LEDs. Click the list. - Choose Matrix
Choose Matrix. The width and height of the grid appear below; the first guess for the width rarely fits, and a height marked ≠ means the LEDs do not fill whole rows. - Enter the width
Count the LEDs in one row of your panel and enter that as the width, here 16. The height follows from the LED count: 128 LEDs make 8 rows. - Match the wiring
Serpentine: each row runs back the other way, the usual zigzag wiring of panels. Vertical: the chain runs in columns instead of rows. Then open Start Corner, where the data cable goes in. - Pick the start corner
This panel is fed at the bottom left: choose Bottom Left. Every change is saved right away. - Check it with a 2D effect
Click Matrix Test Pattern under 2D, then Fit to view above the preview. It colours the four quarters of the panel, red at the top left. If your real LEDs show it twisted or mirrored, change the wiring settings until they match.