 PixDrive
Free-form mapping
Lay out LEDs freely for props like a tree or a star: pick a template, draw and move LEDs, check the wiring order.
Updated
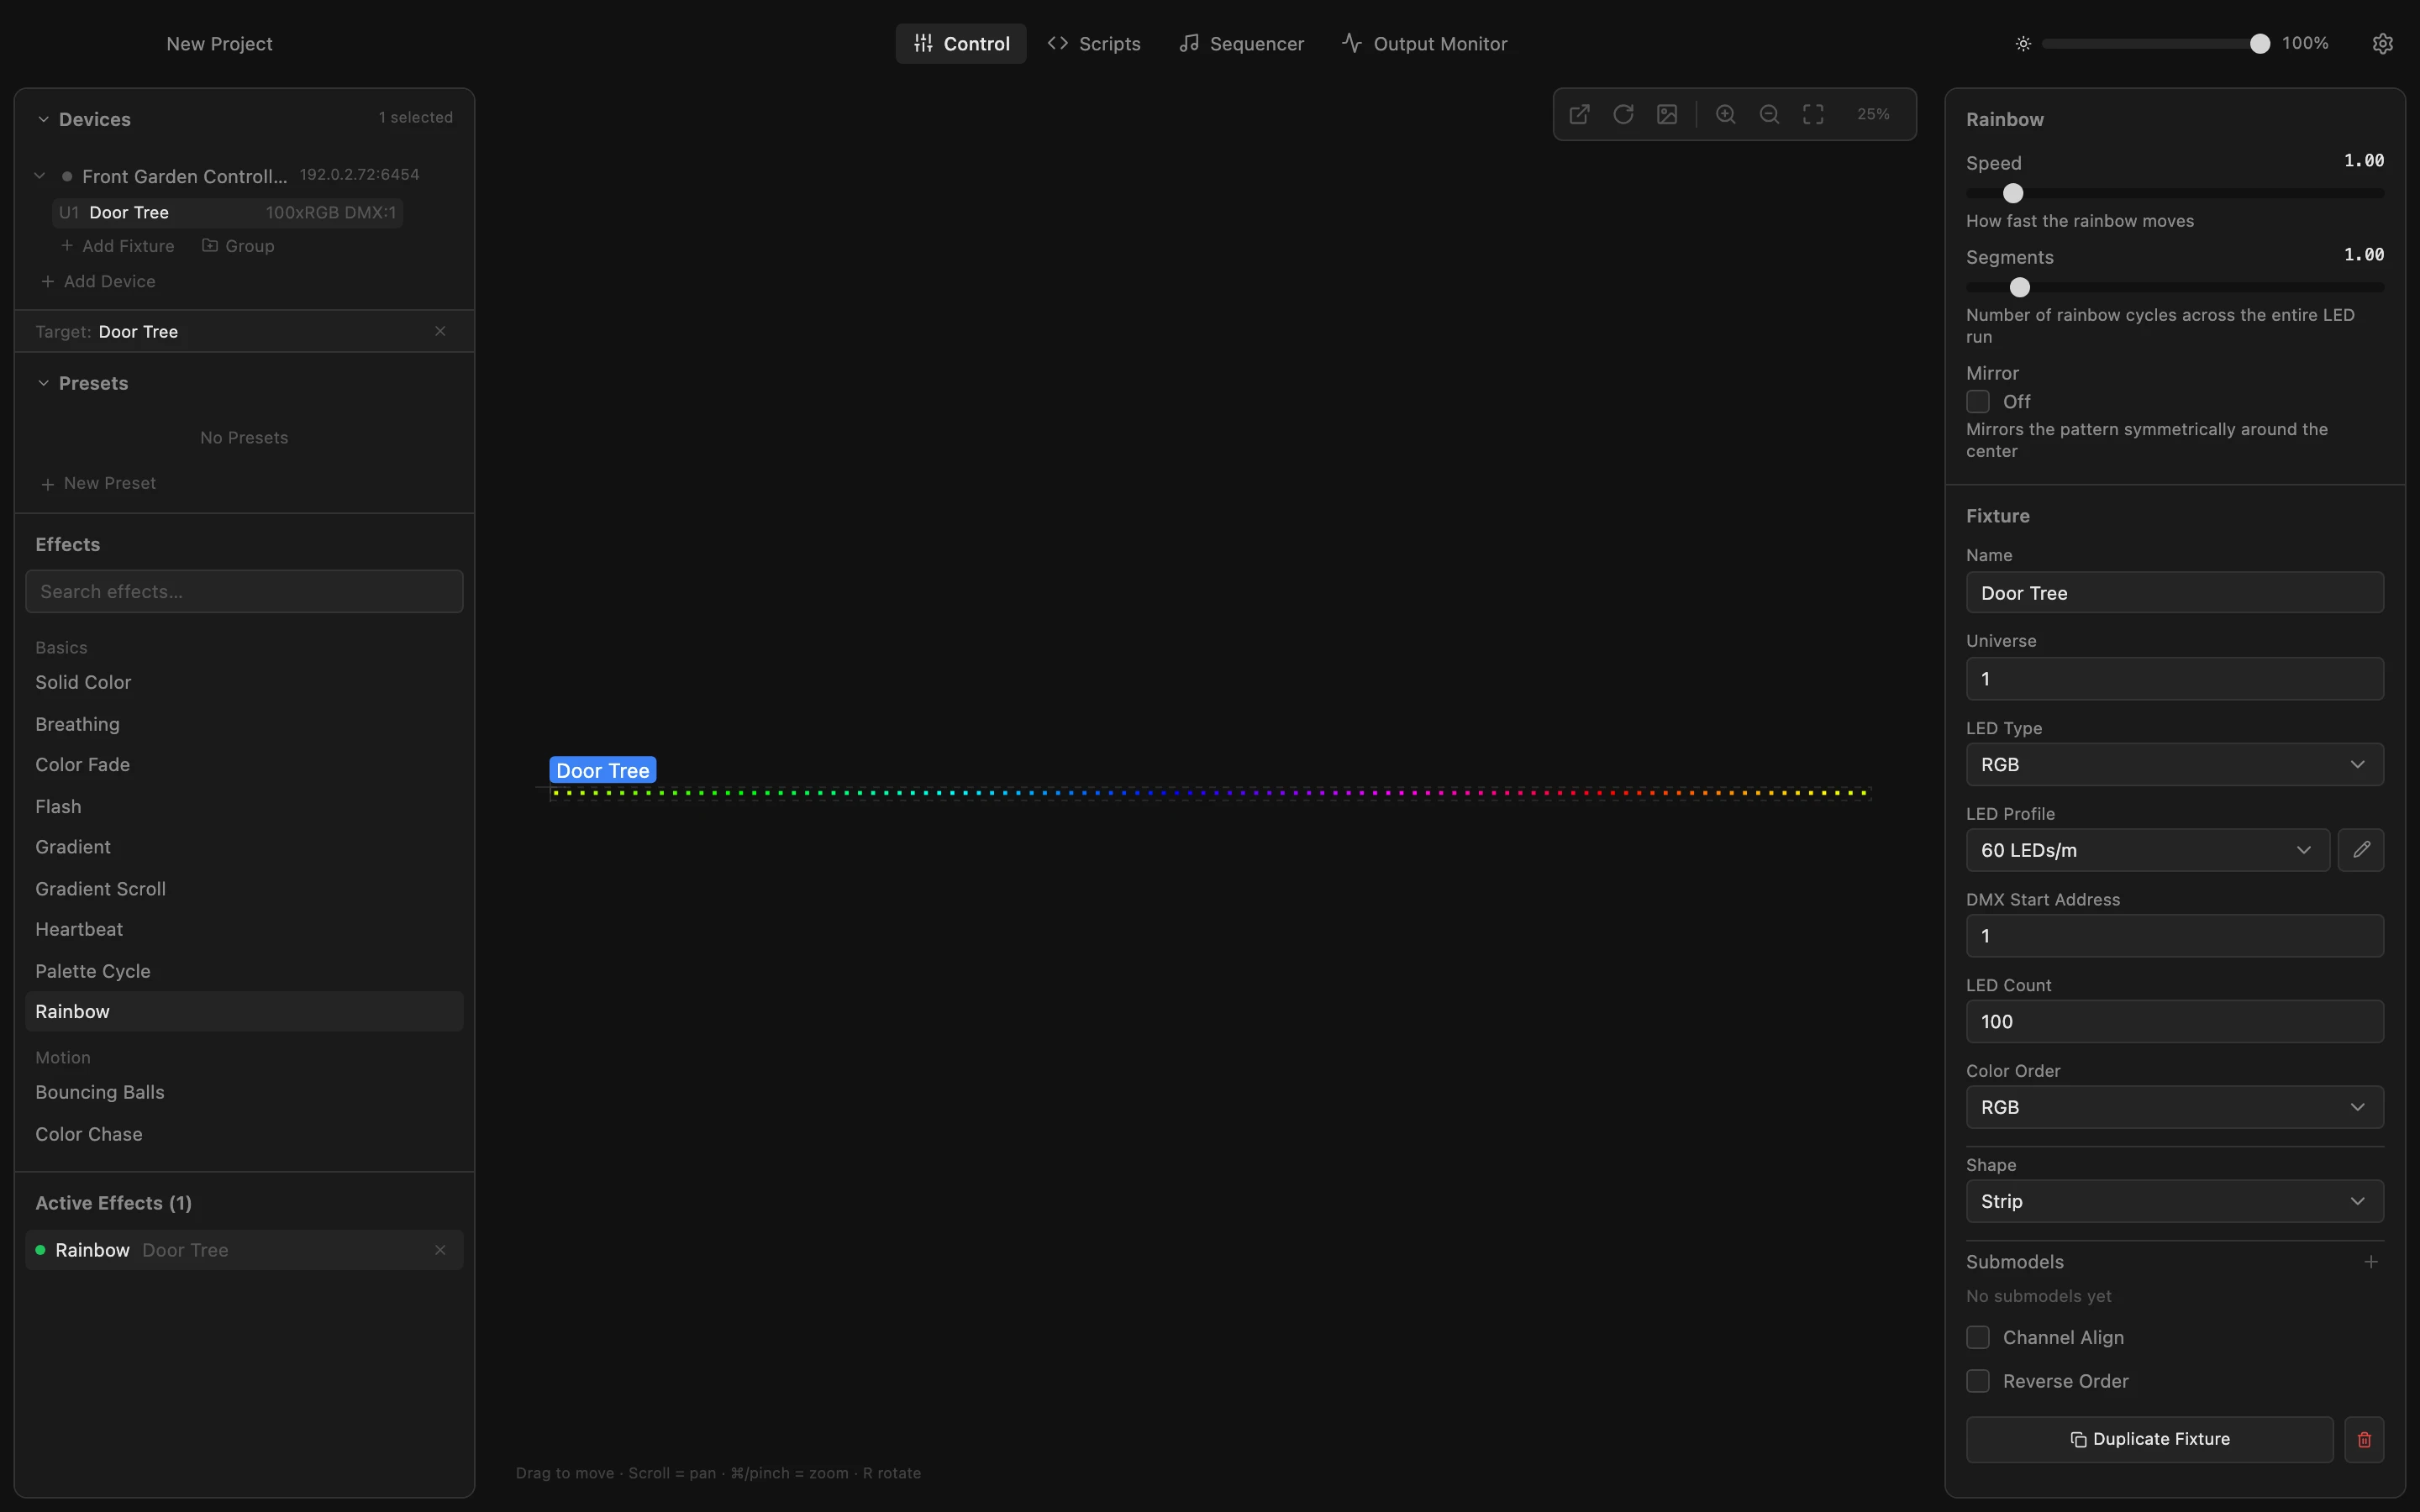
Step 1 of 7
Open the shape
Free form is for props that are neither a straight strip nor a grid: a tree, a star, a heart. With the fixture selected, click Shape in Properties.
All steps
- Open the shape
Free form is for props that are neither a straight strip nor a grid: a tree, a star, a heart. With the fixture selected, click Shape in Properties. - Choose Free form
Choose Free form. The mapping editor opens: here you lay out every LED where it sits on the real prop, in millimetres. - Start from a template
You can draw every LED yourself, but a template is quicker. Open Templates: set the height of your prop at the top, then pick a shape. - Pick the Christmas tree
Choose Christmas tree. The editor lays LEDs along its outline at the pitch of your LED strip. Pixels and Size on the right count them and measure the shape. - Draw more LEDs
Pick Draw (D) and drag across the tree: a garland of LEDs appears along the stroke, one per pitch. New LEDs continue the chain after the last one; a single click places one LED. - Drag an LED into place
Does an LED sit somewhere else on your real tree? Pick Select (V) and drag it there; drag across empty space to select several. Here the tip goes up a little. - Check the wiring order and apply
The green LED is the first in the chain, where the data cable comes in; the red one is the last, and the line between them is the wiring order. Fed from the other end? Click Reverse order. Then Apply: the fixture takes the shape, and its LED count follows the mapping.